The basics of drum triggers include piezos. This is the basic velocity sensor and is used for detecting the striking force on a drum head, drum ring, cymbal, cowbell etc. Piezos create electricity when pressure is applied to the piezo electric element that is sandwitched between two metal plates. It's a very simple electro mechanical. We must understand what it needs to do it's job though.
Pressure changes can also be applied to piezo electric material when it bends or by extension vibrate. So in order to produce electricity, our piezo element will need to move somewhat. That is why it is important to mount piezos in such a way that they can move with the surface you want to pick up. There are a few ways to mount piezos depending on what you want to pick-up.
Picking up a hard surface such as a rubber pad backing plate, a drum rim or a cymbal, you have to mount the Piezo pickup in such a way that it is coupled with the hard surface but not so much that it can't vibrate from the vibration caused by the strike. This why they are usually fastened to the surface with the help of double sided sticky foam.

Sticking to Hard Surfaces
Here you need enough mechanical coupling to transfer the vibration of the surface to the piezo and at the same time, provide the piezo with space to move/vibrate so it can produce a signal. Many rim and cymbal piezos are mounted this way. You can stick this on pretty much anything, a stick, plank, tube etc... and pick up a strike with it in your drum module.
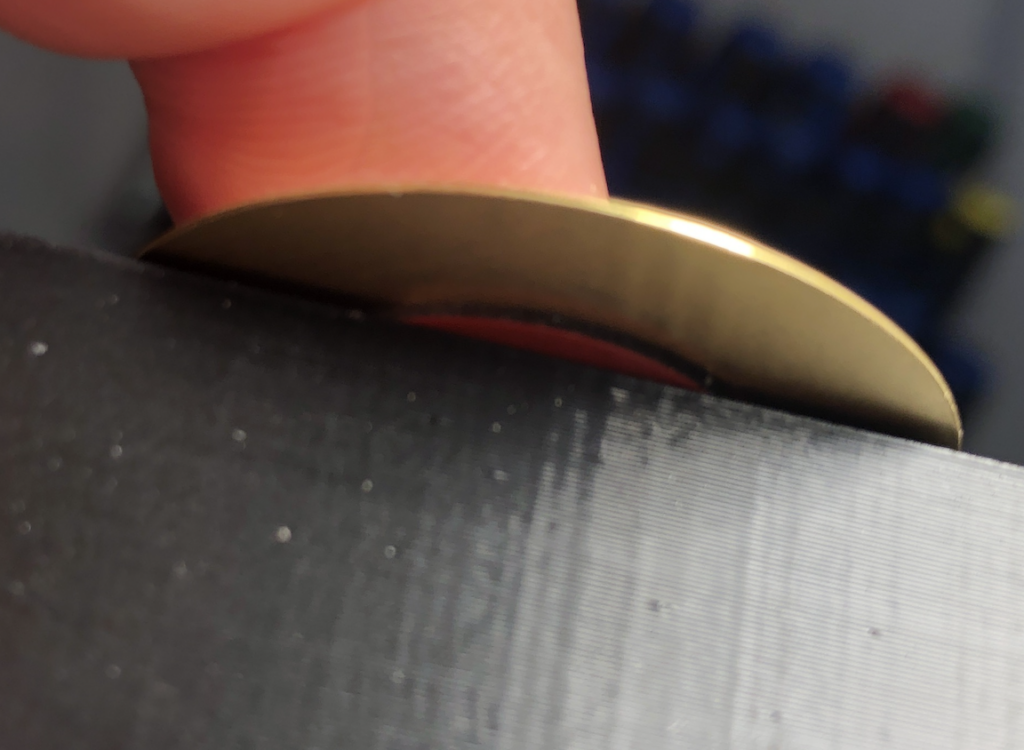
Needs Space to Move
As you can see here on the right picture, when stuck on a hard surface with the sticky rubber dot (3M VHB Tape used here) there is space all around the dot to give the Piezo some movement.
Some Mfgrs use a technique that provides somewhat of a hotter signal by only attaching half of the piezo to the surface and using a weight on the other side to provide some leverage to the mechanical coupling...
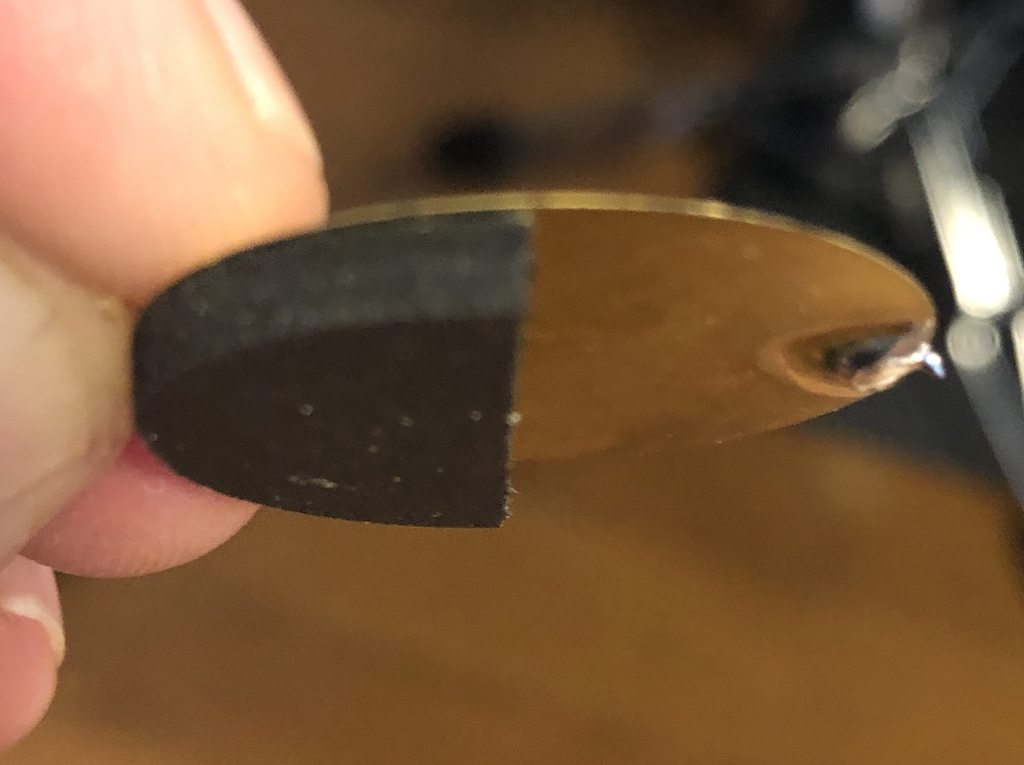
Mechanical Leverage
We see here that the sticky rubber part is a little thicker and that there is a blob of solder on the opposite end creating a weighted side to the Piezo. Some use heavy tape but I find solder works just fine, you have to be careful not to short the top side of the piezo when applying the solder blob.
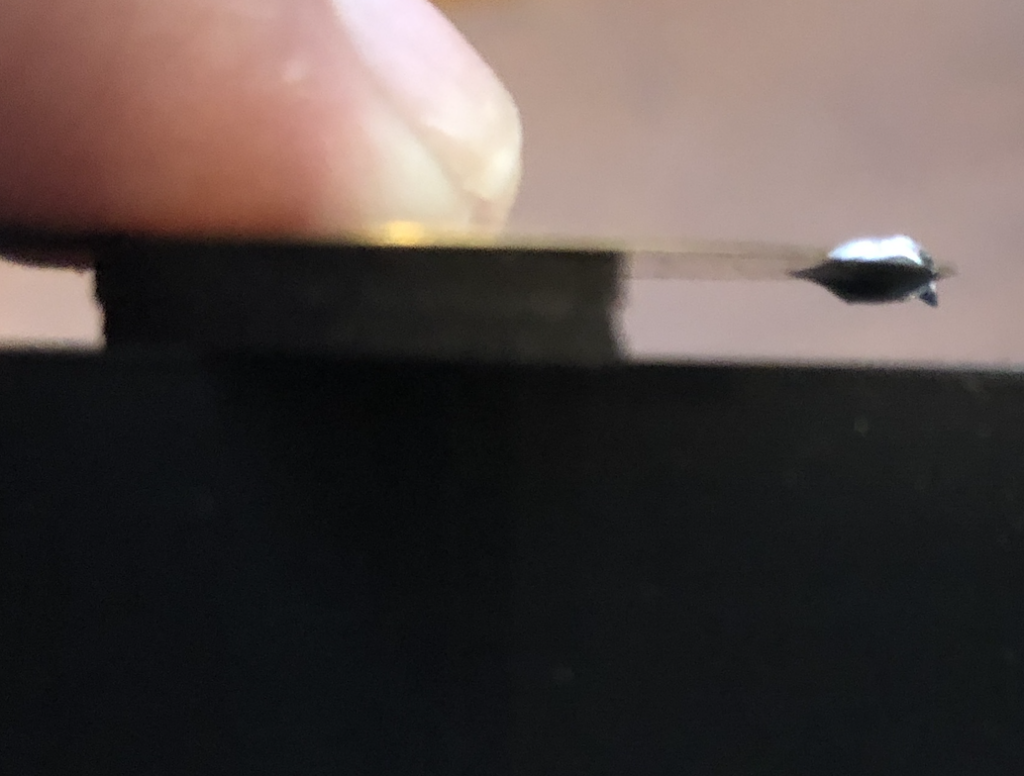
Mechanical Leverage
You can see the idea here where the piezo is stuck only by half it's circumference by a spongy material and has the weighted side suspended. When you hit the hard surface, inertia creates a larger swing on the piezo that would have been achieved by simply gluing it to the surface generating a hotter signal.
You will find this kind of mounting in many different pads. You can get inventive with this as well... Some examples of this kind of mounting in Edrums are:

Stuck to the inside of a drum.
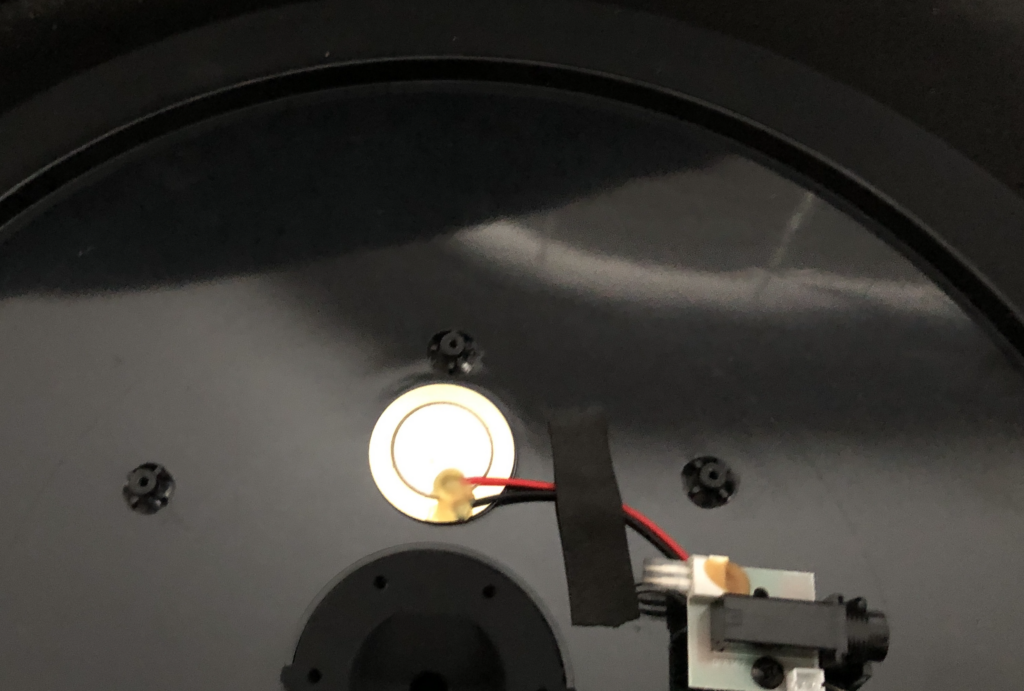
Stuck under a Cymbal

Stuck under a hard rubber pad
You will typically find some form of foam involved in the mechanical coupling of drum head to a piezo. Basically, the piezo is way too fragile and sensitive to be placed directly on the drum head, especially if it is prone to being hit by a stick. Instead, we use some foam between the head and the piezo.
The same mechanical rules apply here too. The piezo must be in a position that it can move/vibrate in sync if possible with the drum head. We say in sync here but really, we are only interested in the initial hit and it's velocity. We are not really trying to capture the sound or resonance of the head so the damping effect of the foam is actually a plus.
The position of the trigger cone also influences the performance of the trigger. Center piezos such as the one on the left have a tendency to create a hot spot in the middle when hit directly by the stick. This is why they are cone shaped as to minimize the surface contact with the drum head, thus minimizing the area that can create a hot spot. This trigger position creates the best all around pick-up of the drum head. It is the most playable even if you must deal wit some hotspotting in the middle of the head.

Side triggering pretty much eliminates hotspotting by brigning the sensor to the side of the head. Hotspotting is still there, if you hit the piezo directly it will sound louder, but the chances of hitting it is low because it is on the side of the head leaving the middle of the head free of sensors. It is however not ideal as you will experience dead spots opposite to the sensor placement. The further from the piezo and closer to the rim will create low volume spots that can be somewhat compensated by more tension on the head.
In any case, sensor placement is always pretty much a compromise. There are some instances where you can use multiple sensors to minimize hotspotting and alleviate dead zones on the head, but we will talk about those in another article...
Anatomy of a cone or cylinder sensor
They are basically the same, only the shape of the foam element changes. One is a cylinder, the other a cone. Since cones are more popular, especially in higher end devices we will show that here...
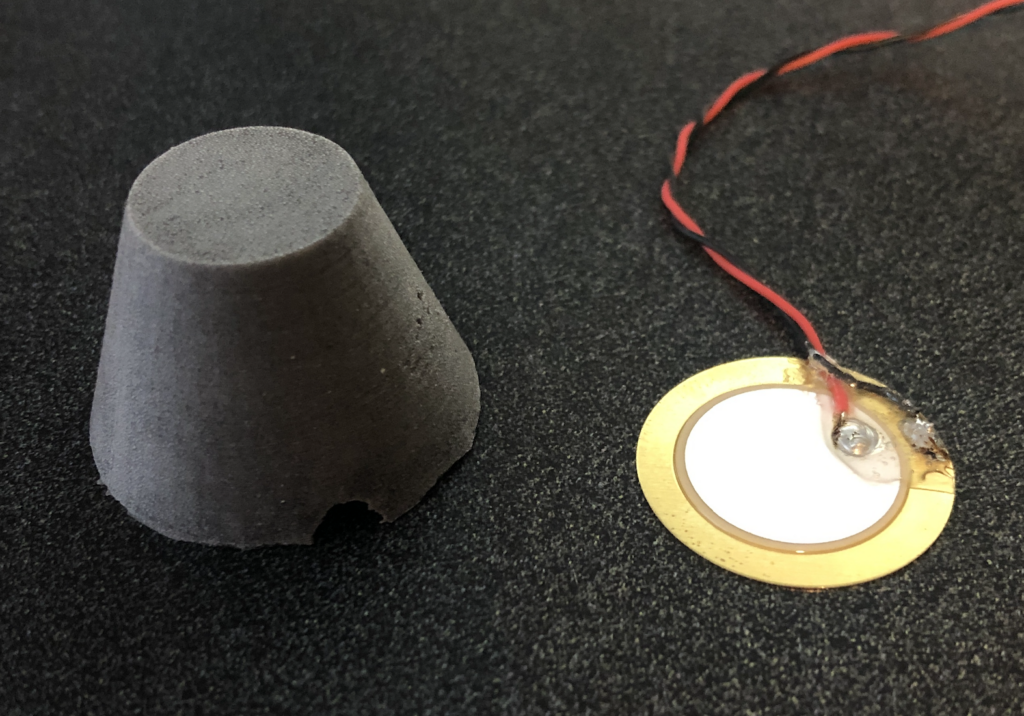
Cone and Piezo
A foam cone and a piezo. That's pretty much it. Foam cones come in many flavor. the one in the picture is one we manufacture here by casting them with urethane foam resins.
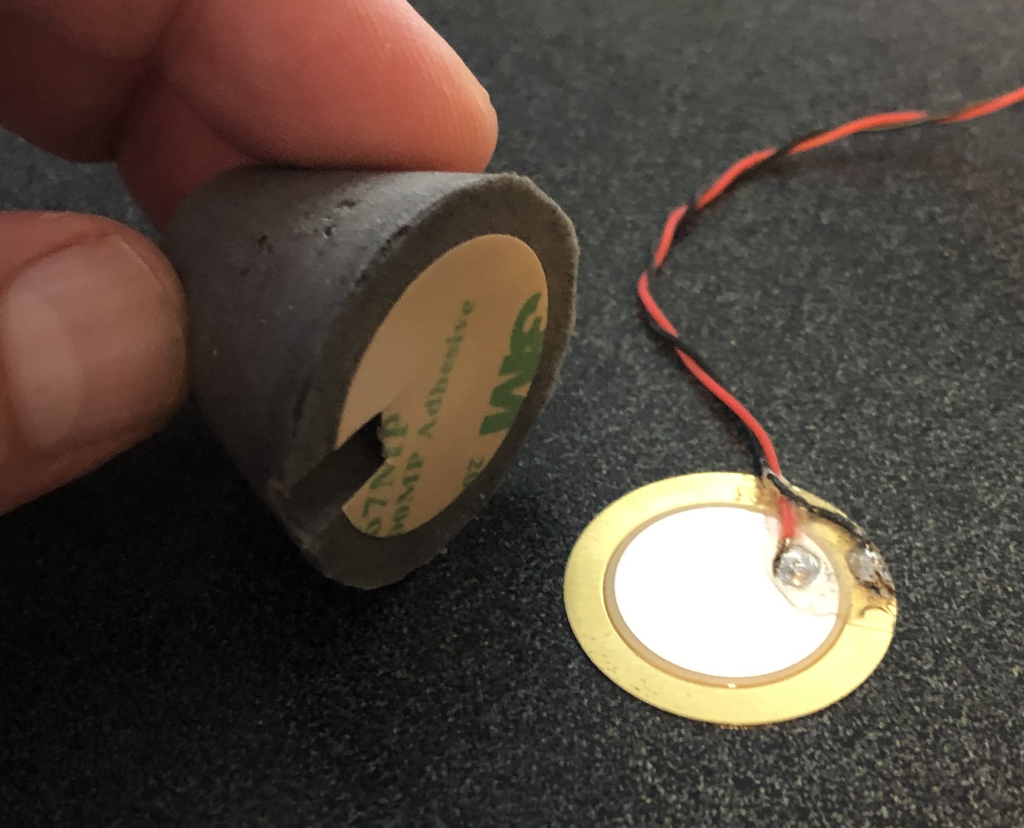
Stick the cone to the piezo
We stick the cone directly to the piezo so the base of the cone makes contact with the entire surface of the piezo. We want the pressure from the top of the cone to be distributed on the entire surface of the piezo, pushing it down when the head is hit.

Foam Dot
We use the same technique as for mounting piezos to hard surfaces although we will sometimes vary the foam type under the piezo to modulate signal strength. The idea here is that the foam cone pushes down on the piezo with equal pressure to the entire surface. However, the dot underneath puts more resistance in the middle with no resistance on the sides, thus forcing the piezo to bend slightly when the head is hit. This slight deformation is enough to create the trigger signal.
In the next part we will look at wiring for different modules.